Using Authy and Generating OTP
Summary
Authy, a free app from Twilio, can generate one-time passwords (OTPs) on your laptop or desktop computer, which you can use when logging into the Savio high-performance computing cluster at UC Berkeley.
We recommend using the Authy app if you do not have a mobile device - such as most iOS or Android smartphones and tablets - capable of running the Google Authenticator app. (If you do have one of these, you can find setup instructions for your device in Logging into Savio.)
Authy is a desktop app. This app can be installed on MS Windows, OS X / macOS, and Linux.
Setting up Authy
Setup steps:
Note
This documentation was completed with a Mac OS, using a Chrome browser.
Using your browser of choice, download Authy.
- In the following section of the download page, click the icon for the device and OS you're using:
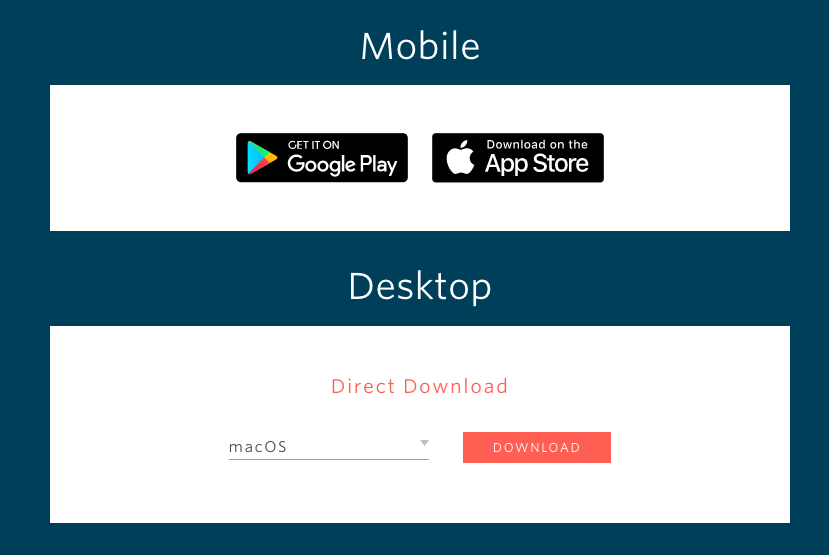
Download to your device and, once completed, launch Authy on your device.
- Follow the on-screen instructions to send a text message to your phone, or to call you. This will give you a code that you will need to enter into Authy.
If you have a landline phone, or a cell phone that can't receive text messages, be sure to click the "Call" button - rather than the "SMS" button - at the "Verify my identity via" prompt.
- Next, in Authy's window, click the "Settings" (gear) icon (lower right):
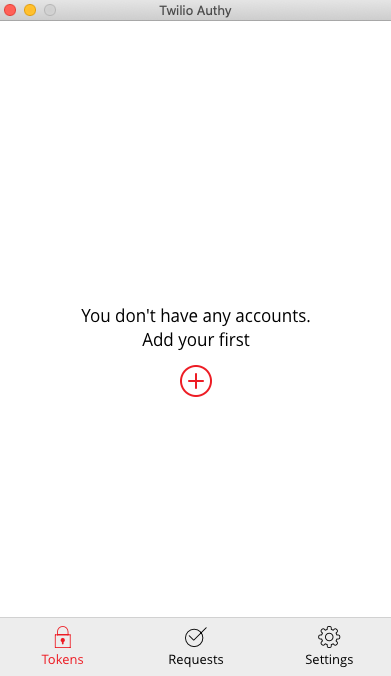
- Set up a Master password by going to “General”, selecting "Master Password", and then following the onscreen instructions:
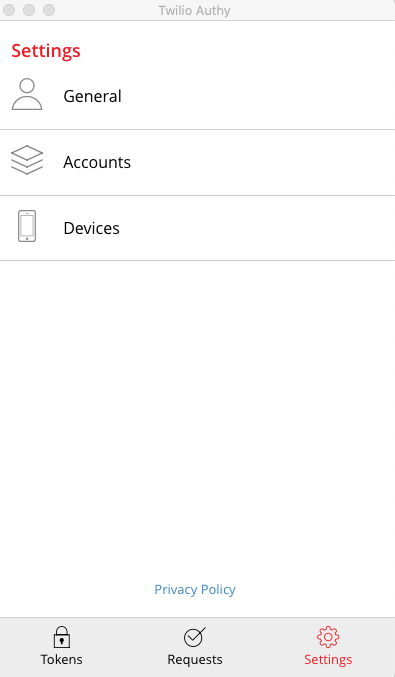
- After setting a Master Password, navigate back to the “Tokens” screen:

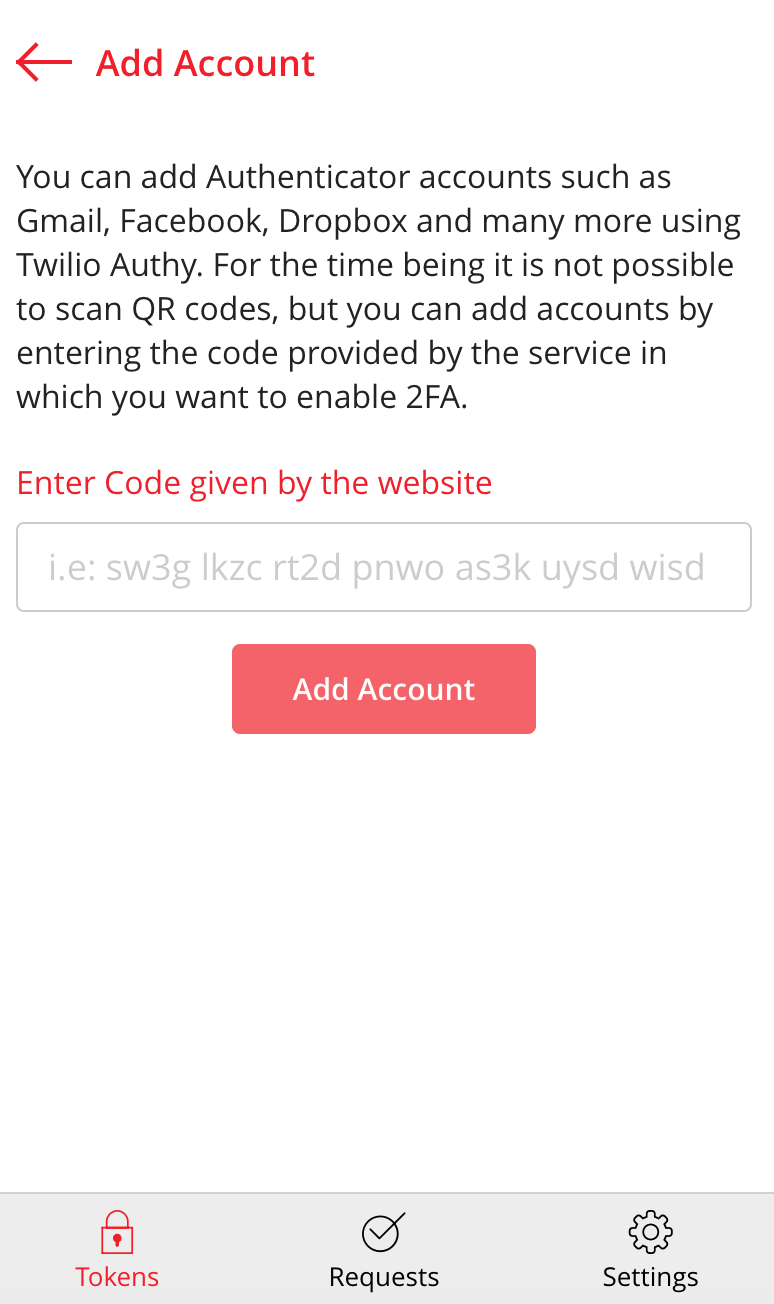
- Select the red Plus ('+') button on that screen to create a new account. You'll now see a screen asking for you to enter a code:
Now you'll leave Authy, go back to your browser window, and get that code. Visit the Non-LBL Token Management web page to access the code you need.
- Login to the Non-LBL Token Management web page by clicking the button for the external account (UC Berkeley CalNet, Google, Facebook, or LinkedIn) that you previously linked to your Savio/BRC cluster account.
(If, when doing so, you encounter the error message, "Login Error: There was an error logging you in. The account that you logged in with has not been mapped to a system account", please complete this form to link your personal account to a BRC cluster account. Then, return right back here, to re-try this step in the Authy instructions.)
- From the "Token Management" page which appears, create a new token by clicking on "Add an HPC Cluster/Linux Workstation token" and following the onscreen instructions.
IMPORTANT: Remember the PIN that you are setting on the token. Note: Even if you've already created one or more tokens for use with Google Authenticator on a smartphone or tablet, you'll still need to create a new token for use with Authy.
- After you've successfully created your new token, a QR code for that token will then be displayed.
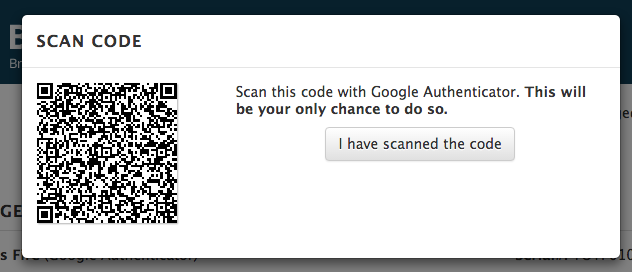
- Because Authy doesn't have a way to scan the QR code (directly or via a helper app), you'll need to extract the 'secret' from the currently displayed webpage.
(The instructions that follow here are a bit tricky ("fiddly") so please be sure to pay close attention to both the instructions and screenshots.)
To do so, right click on the QR code and select “Source”.
- Click the "Inspect Element" icon - the icon with the 'arrow in a box,' at the upper left of the right-hand panel.

- Then click on the QR code, so that code is highlighted:

- Over in the right-hand panel, you'll see some text highlighted, which will most likely begin with
img style=....(That's the HTML markup which corresponds to the image of the QR code, in the left-hand panel.)Press the up arrow key on your keyboard - typically twice - until a block of text just before this is selected: the text that begins with
div id="qrcode":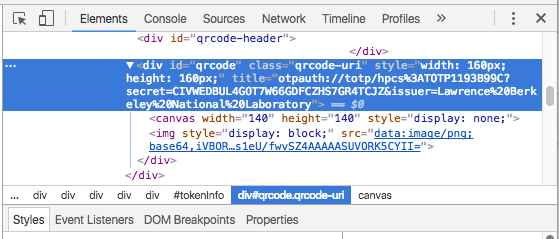
- Within that block of text, select and copy the "secret" text to the Clipboard. That's the text immediately following
secret=and ending before&issuer=, in the token string that begins withotpauth://, in the location shown by**secrettexttocopyishere**in the example below:otpauth://totp/hpcs%3ATOTP10976BCD?secret=**secrettexttocopyishere**&issuer=Lawrence%20Berkeley%20National%20LaboratoryThe "secret" text will typically be 32 characters in length, and consist of both uppercase letters and digits. For example:
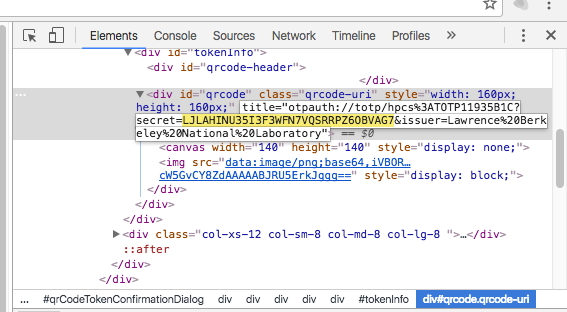
If you can't easily select just that "secret" text itself, as an alternative, you can paste in the full token and perhaps even some surrounding text into a text editor or word processing application, and select that text there. (If you do so, for optimum security, do not ever save that token - nor the "secret" text within that token - in any document on your disk.)
- Paste that "secret" text into the "Enter code given by website" field in Authy, right above the "Add Account" button. Once entered, click the “Add account” button.
Be sure to verify that the text pasted into the "Enter Code" field is exactly the same as the "secret" text in the token. (If these differ, even by only a single character, the one-time passwords that Authy generates will not work with Savio.)
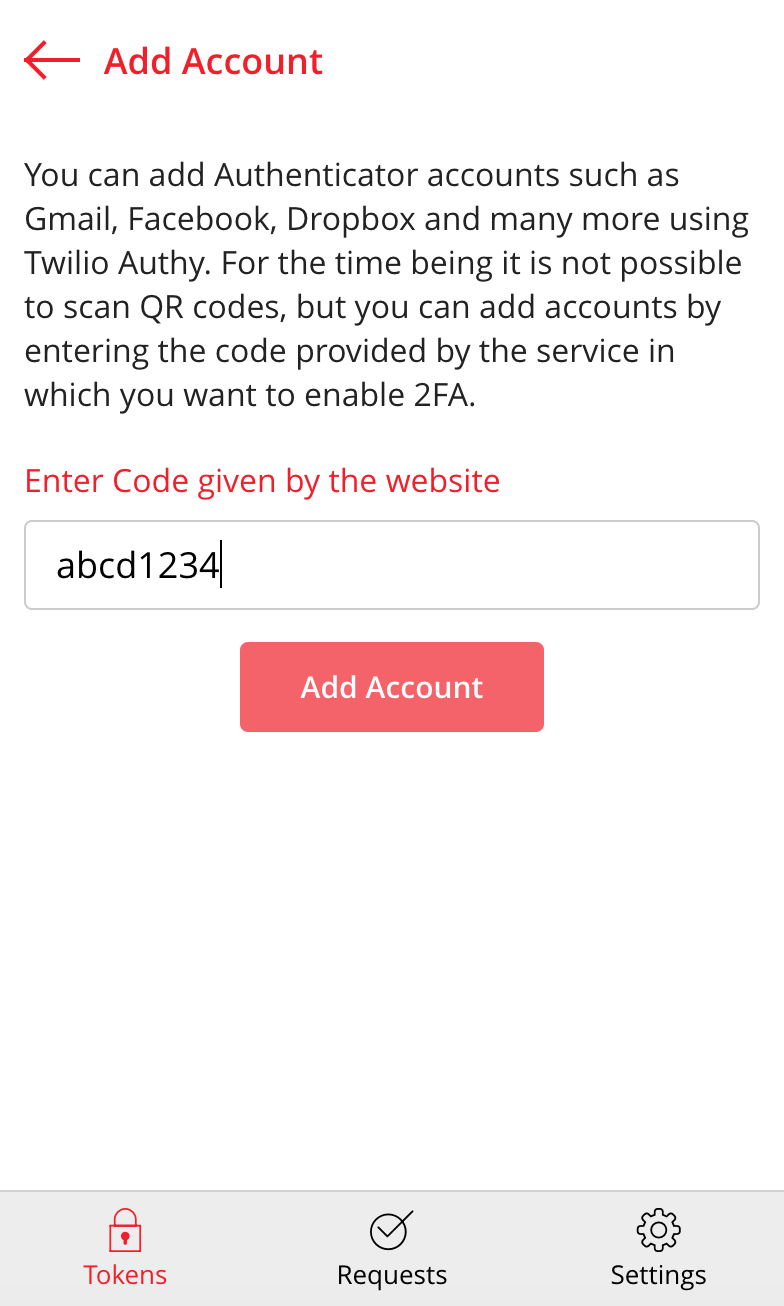
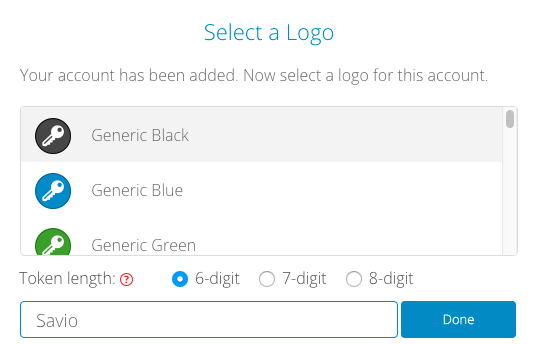
- On the next screen, select a logo for your new Authy account and enter a name for that account. ("Savio" - or any similar name - is a reasonable option for an account name.) Then click "Done".
Select the arrow in the upper left to to move from the Settings screen, to the screen where you can generate one-time passwords.
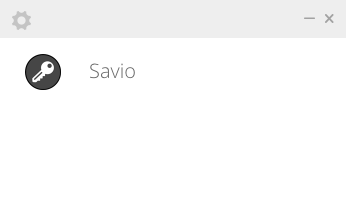
- On the screen where you can generate OTPs, click on the logo (or name) for the account you just created:
- You should now see one-time passwords being generated: a new one will be displayed every 30 seconds:
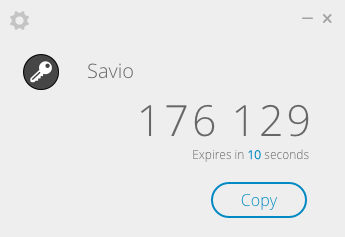
(Authy displays the one-time password with a space between the first and last three digits. When you click the "Copy" button, however, the password is correctly copied to the clipboard without that space.)
Assuming the "secret" text you pasted into Authy's "Enter Code" field in step 18, above, was the correct text from your token, you've now successfully completed the process of setting up Authy to generate one-time passwords for Savio.
Logging Into Savio
When you want to log into Savio:
Use your terminal or SSH application to connect to
hpc.brc.berkeley.edu- At Savio's Password: prompt, enter your token PIN (do not press Return/Enter to add another line).*.
*reminder that you will not see the text you enter into the terminal
Click Authy's "Copy" button to copy the one-time password to the Clipboard.
Then, at Savio's Password: prompt, immediately following the token PIN that you've already entered, paste in the one-time password from Authy and press Return/Enter.
(For more details on logging in, please see the Logging into Savio documentation.)
Launching the Authy App
To launch the Authy app later on, it will need to be installed on the device you are using to access Savio. Please refer to Step 1 for installing Authy on additional devices.